Create an Okta Hook receiver
You can create an iHook receiver to receive Okta Event Hooks, and send email/Slack notifications whenever an Okta event is fired.
1. Create receiver
After signing into the iHook dashboard, go to the Receiver tab, and click the CREATE RECEIVER button at the top left corner:

A new receiver will be created. Under the Receiver Settings section, you can see the receiver's unique URL, which you will use to receive Okta events. The endpoint accepts GET and POST requests.
Click the EDIT button at the top right corner of the Receiver Settings section, and provide the following values:
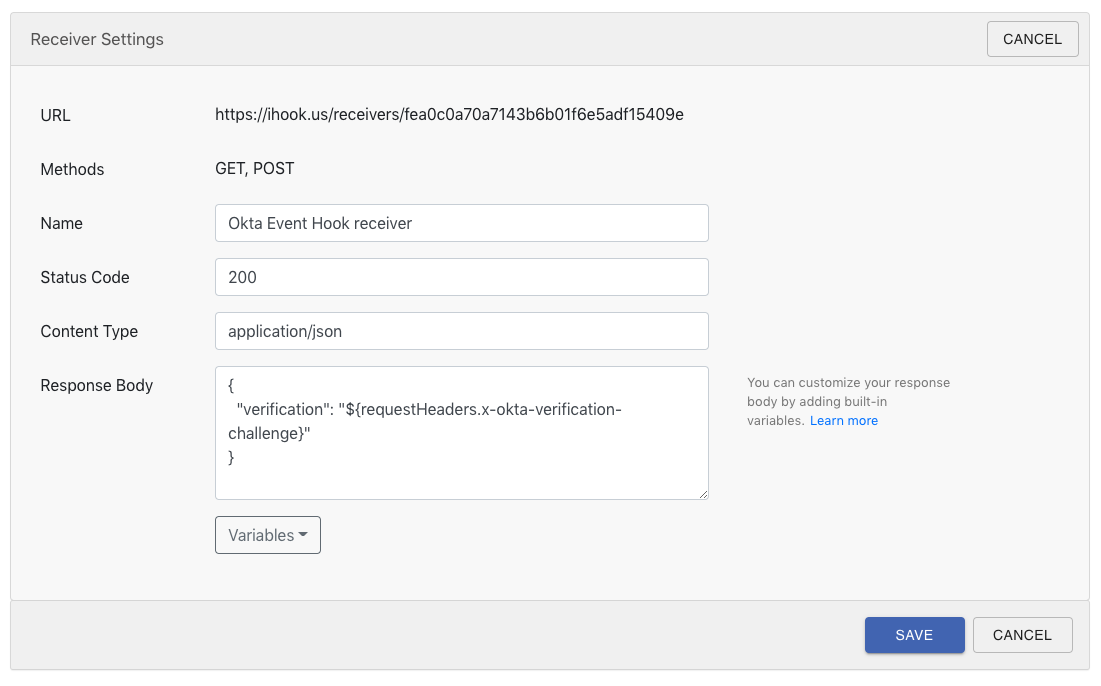
| Field | Value | Description |
|---|---|---|
| Name | Okta Event Hook receiver | The name of the receiver. |
| Status Code | 200 | The response status code of the endpoint. |
| Content Type | application/json | The response content type of the endpoint. The value will appear in response header content-type |
| Response Body | {"verification": "${requestHeaders.x-okta-verification-challenge}"} | The response body of the receiver. It contains the x-okta-verification-challenge request header value to perform a one-time verification with Okta. |
Then click SAVE. With the new settings, the receiver will respond to HTTP callers with a 200 status code, and a JSON formatted response body.
Note that in the response body, we use the built-in variable ${requestHeaders} to access a HTTP request header value. The expression follows JSON path syntax, for more information about built-in variables and JSON path expression, see here.
2. Register an Okta Event Hook
Now you can register your receiver URL to your Okta Event Hook. Go to your Okta Event Hooks page, click Create Event Hook and provide the following value:
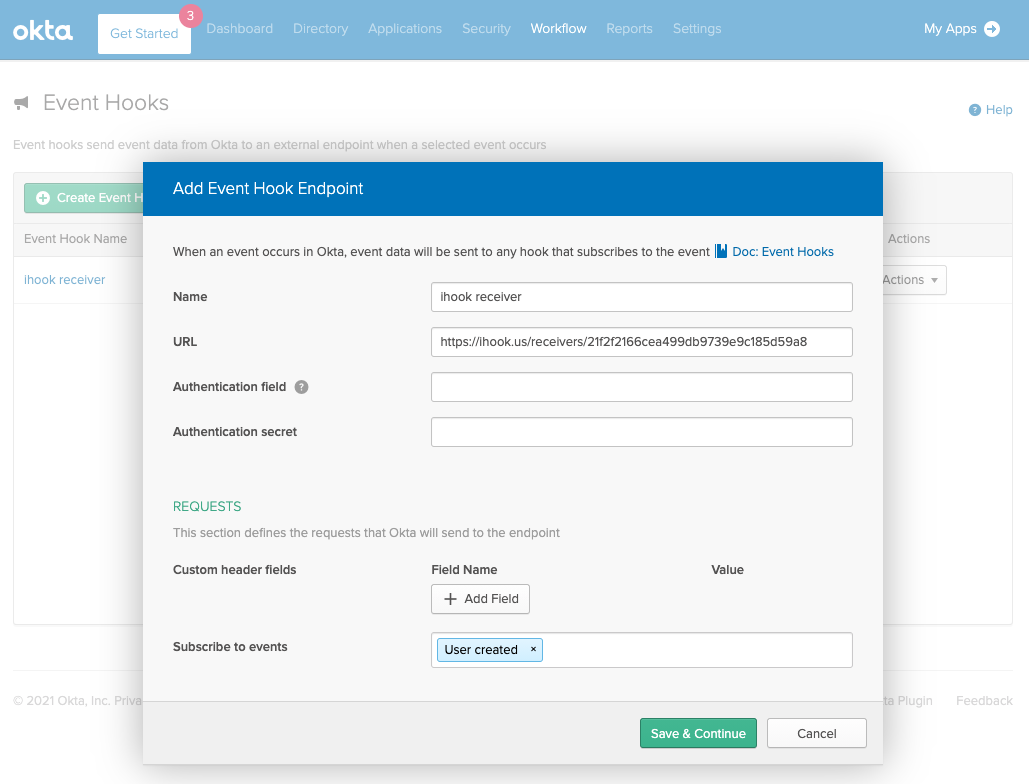
| Field | Value | Description |
|---|---|---|
| Name | iHook receiver | The name of the Okta Hook. |
| URL | 200 | The response status code of the endpoint. |
| Authentication field | You may leave this field empty. | |
| Authentication secret | You may leave this field empty. | |
| Custom header fields | You may leave this field empty. | |
| Subscribe to events | User created | Tells Okta to notify iHook receiver whenever an Okta user has been created. |
Then click Verify:
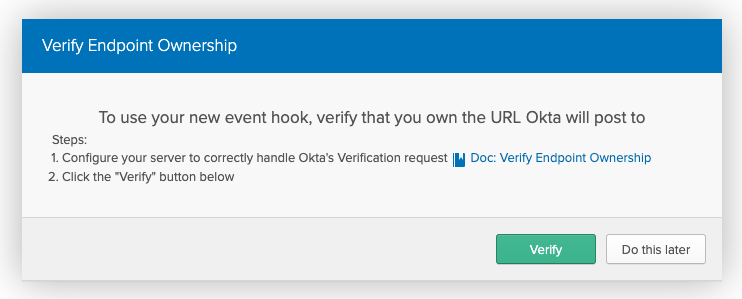
If everything went smooth, your Okta Event Hook should have been verified:

3. Setup notification
Next let us set up an email notification, so we can be notified whenever the receiver gets an Okta event.
Under the Notification section, click on ADD button next to Email label:
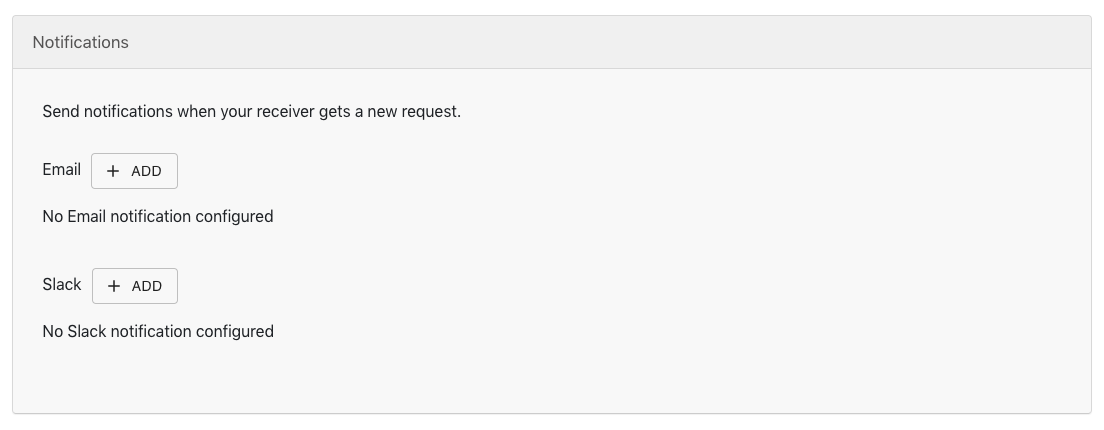
Then a notification setup dialog will show up:
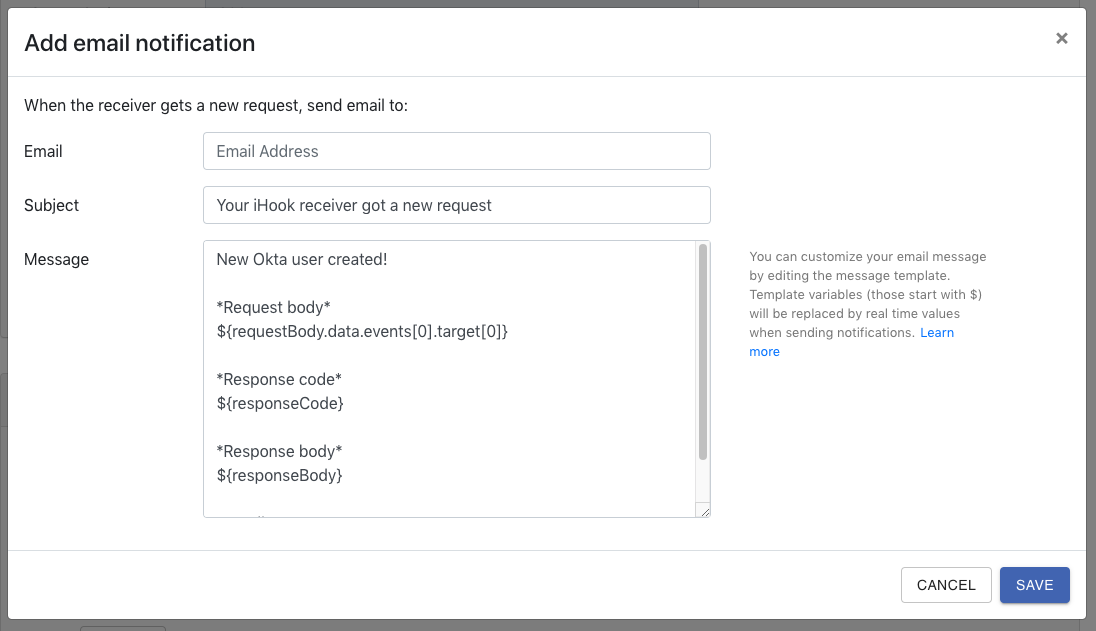
Enter your email address, and click SAVE, you will see the new notification appear under the Notification section.
Note that in the message template, you can use JSON path expression to extract desired properties in ${requestBody}, e.g. ${requestBody.data.events[0].target[0]}.
Congratulations! You've successfully created a receiver that accepts Okta Event Hooks, with email notification enabled!
